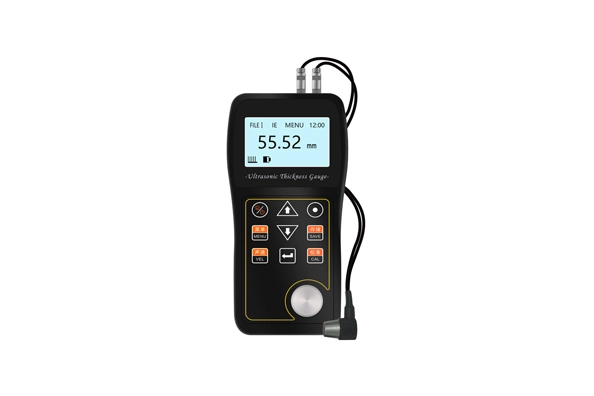
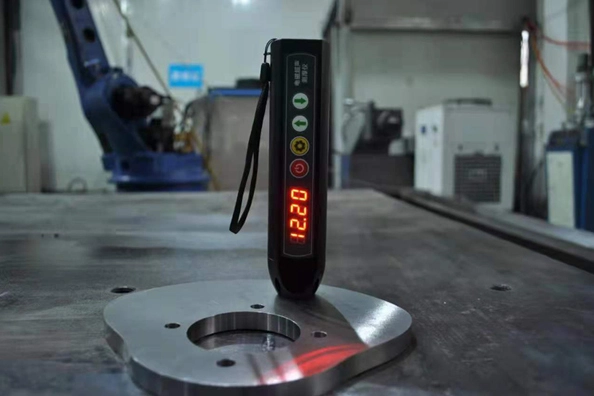
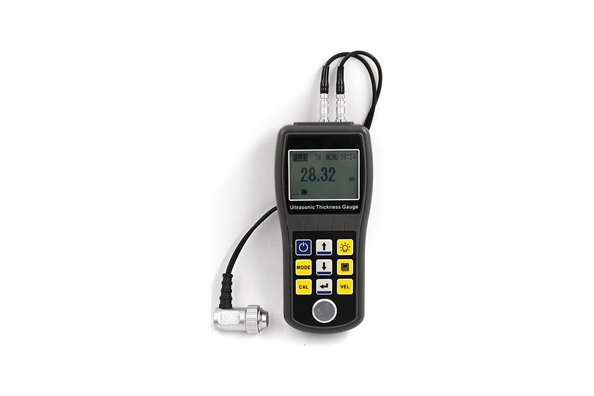
Features of UT400 Ultrasonic Thickness Gauge
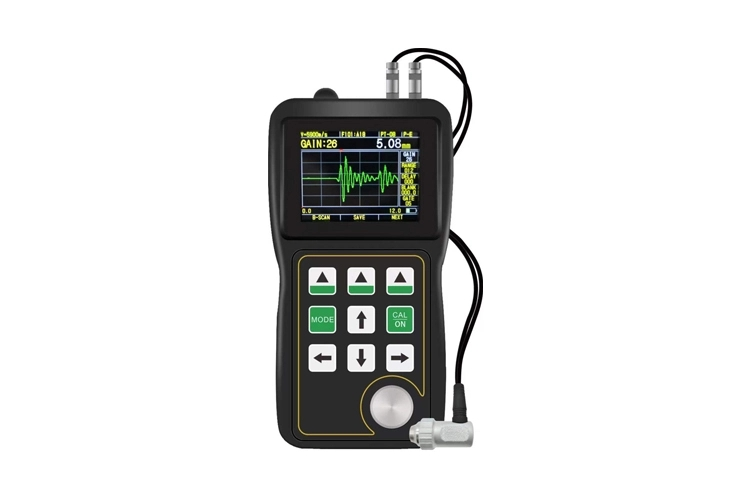
Advanced nondestructive testing instrument with real-time A-Scan waveform visualization;
Intuitive color-coded thickness alerts, and through-coating measurement capabilities;
A-Scan Waveform Display: Real-time ultrasonic signal visualization enables measurement verification and problem analysis directly on screen;
Smart Color Interface: White-font thickness display indicates proper probe coupling with excellent human-machine interaction;
Visual Thickness Alert: Customizable alarm limits with dynamic color-changing readings for instant warning recognition;
Through-Coating Measurement: Penetrates surface coatings to directly measure base material thickness;
Multilingual Support: Multiple language interfaces accommodate global operational requirements;
Parameters of UT400 Ultrasonic Thickness Gauge
Working principle | IE PE EE | Measurement range | 0.6 ~ 508 mm(0.025 ~ 20.00 inches) |
Measurement resolution | 0.01 or 0.1mm(0.001 or 0.01in) | Units | mm or inch |
Display screen | 2.4 "TFT LCD 240RGB*320 DOTS | Display mode | Thickness value mode, min/max capture mode, difference/reduce rate mode |
V- PATH correction | Automatic V-PATH correction to compensate the nonlinearity of double crystal probe | Measurement update rate | 4Hz, 8Hz, 16Hz per second optional |
Material sound velocity range | 500~9999m/s, 0.0179~0.3937in/μS | Working language | Chinese / English / French (optional) |
Alarm settings | Maximum / minimum value alarm, dynamically changing the thickness reading color during alarm | Power supply | Two 1.5V AA batteries |
Operation time | Two AA batteries, use time more than 35 hours | Instrument shutdown | Optional automatic shutdown after 5, 10 and 20 minutes of no operation, or manual shutdown |
Use environment | -10~50 ºC | Size | 151mm×76mm×37mm |
Probe Technical Parameters of UT400 Ultrasonic Thickness Gauge
Ultrasonic thickness
Probe | Characteristic | Measurement Range(steel) | Diameter | Frequency | Contact temperature (℃) |
5PΦ10 | Universal probe | 1.2~225mm | 10mm | 5MHz | -10~+50 |
7PΦ6 | Small diameter tube | 0.75~60mm 15×2.0mm(steel) | 6mm | 7MHz | -10~+50 |
TSTU32 | High penetration | 5.0~40mm(cast iron) | 22mm | 2MHz | -10~+50 |
SZ2.5P | High penetration | 3.0~300mm(steel) | 14mm | 2.5MHz | -10~+50 |
ZW5P | High temperature resistance | 4.0~80mm(steel) | 12mm | 5MHz | -10~+300 |
2PΦ20 | High penetration | 4~500mm | 12mm | 2.5MHz | -10~+50 |
UT400 Function Detailed Explanation
If you encounter problems that cannot be solved by ordinary thickness gauge, please choose our UT400 ultrasonic thickness gauge, which can solve various thickness measurement problems to the greatest extent and provide you with cost effective solutions.
Ordinary ultrasonic thickness gauges using the [pulse-echo method] principle need to meet the following two conditions to successfully measure:
1. The first bottom echo is higher than the gate (the gate level is fixed and cannot be adjusted).
2. No other clutter is higher than the gate before the first bottom echo.(Otherwise, the measured thickness will be the thickness where the cluster is generated) Sometimes, the above requirements cannot be met in many cases:
Such as high corrosion near the surface, coarse-grained materials (such as cast iron), aluminum materials, small-diameter tubes, ultra-thin plates, ultra-thick plates, rough surface, uneven internal materials, internal defects, laminated structure, etc. Ordinary ultrasonic thickness gauges will be powerless.
UT400 Can Easily Solve the Following Problems
1. The first bottom echo can be higher than the gate by adjusting the gain and gate height.
2. Other clutter before the first bottom echo can be invalidated through the blanking function.
Live Color A-Scan:
The user can directly see the wave pattern of color ultrasonic signal (or A-scan) on the screen, which is very important for the occasion where it is necessary to verify whether the thickness reading is correct. Many cases may lead to wrong thickness readings or even no readings. The problem can be easily found according to the waveform, and then the correct thickness readings can be obtained by properly adjusting the gain, blanking and gate parameters according to the waveform. Use of waveform: verify the thickness reading according to the waveform, find the problem according to the waveform, seek a solution according to the waveform, and adjust the parameters according to the waveform to solve the problem.

 français
 Español
 русский
 العربية
 português


