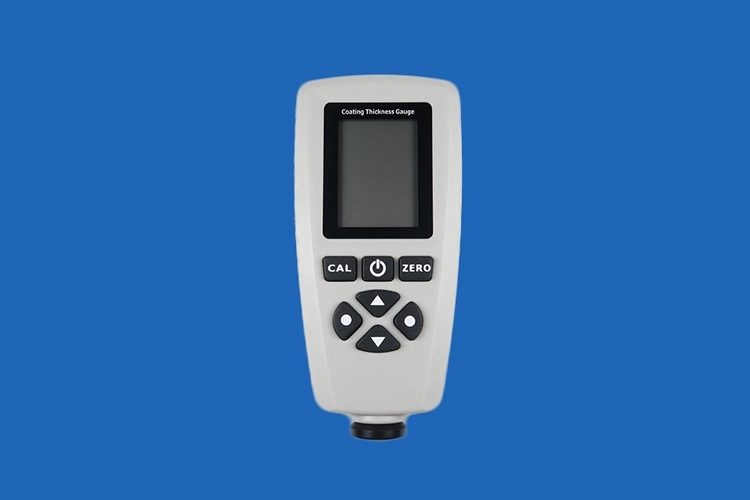
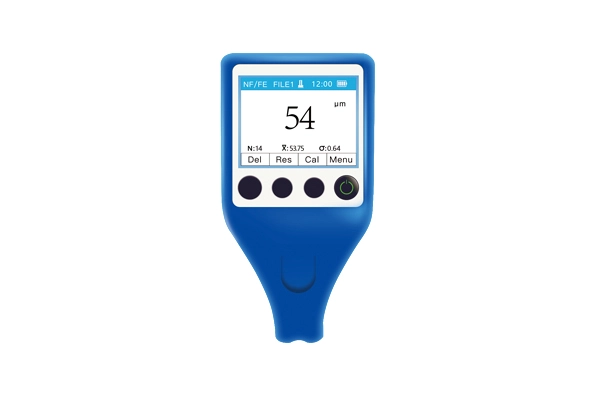
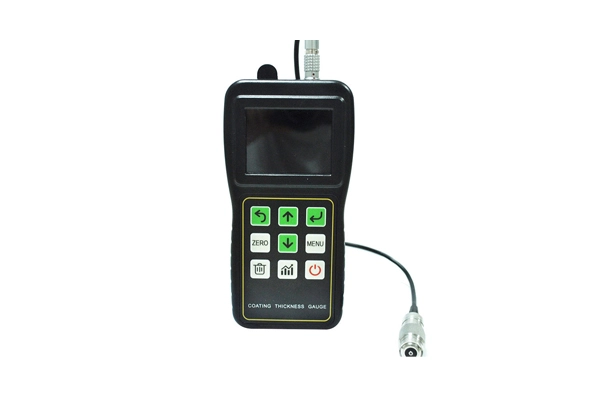
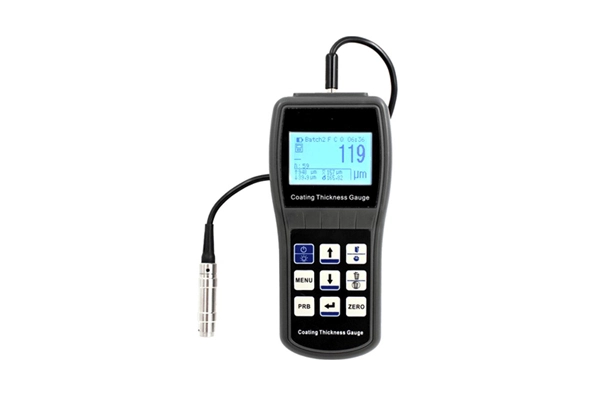
This versatile gauge is designed for the non-destructive measurement of both non-magnetic coatings, such as paint, enamel, and chrome on steel, and insulating coatings like paint and anodizing layers on non-ferrous metals.
Equipped with an internal probe that operates on both magnetic induction and eddy current principles, it can automatically identify the type of substrate (magnetic or non-magnetic) and swiftly calculate and display the coating thickness.
The device features storage for five data groups, with automatic memory function for general groups (excluding the direct group). Each group is equipped with its own statistics, alarm limit settings, and calibration options. Users can easily recall or delete specific readings. The interface is user-friendly, guided by a standard menu for straightforward operation. Calibration is initiated simply by pressing the CAL button, facilitating a hassle-free process.
128*128 dot matrix LCD displaying screen, standard menu operation guide;
2 measuring modes: single and continuous;
Two group mode: direct (DIR) and general(GEN),.Values will be lost when power off in direct mode, and not be lost in general mode. 80 values can be stored for each group;
Zero point calibration and multi-point calibration /up to 4 points set for each group;
User can recall, delete specified readings or group readings separately;
Statistics displays: mean, min., max. and standard deviation;
3 probe mode: auto, magnetic and eddy current;
User could set high or low limit- alarm for each group;
Power off automatically while low battery;
USB interface could download data transmission;
Low battery and error reminding;
Measuring principle | Magnetic induction (F probe) and eddy current (N probe); |
Measuring range | 0 to 1300um /0 to 51.2mils/ Can up to 1500um if needed |
Accuracy | ± 3% of readings+2um; /3% of readings+0.078mils/; |
Resolution | 0um~999um /1um/, 1000um~1300um/0.01mm/, 0mils~39.39mils/0.01mils/, 39.4mils~51.2mils/0.1mils/; |
Calibration | 1 to 4 point calibration, zero calibration; |
Data Group | One direct group (value will not be stored), 4 general groups (readings can be stored), and each group have individual statistics, alarm settings and calibration; |
Statistics | Number of readings, mean, min., max. and standard deviation; |
Units | um, mm and mils; |
Alarm | User can set the high/low alarm, and alarm icon displays on screen while over limit; |
Min. curvature radius | convex 1.5mm/59mils/ and concave 25mm/984mils/; |
Min. measuring size | Diameter 6mm/236mils/; |
Min. thickness of substrate | F probe: 0.5mm/0.02"/, N-probe: 0.3mm/0.012"/; |
Computer interface | Download data via USB key; |
Power supply | Two 1.5v AAA battery; |
Operation temperature | 0℃ to 40℃(32℉ to 104℉); |
Storage temperature | -20℃ to 70℃(-4℉ to 158℉); |
Size | 110mm*53mm*24mm (4.33"*2.09"*0.94"); |
Weight | 92g (3.24oz); |
Item | Quantity |
Main Unit | 1 |
Aluminium substrate | 1 |
1.5V AAA battery | 2 |
Standard testing Foils | 5 |
User Manual | 1 |
USB cable | 1 |
Case | 1 |