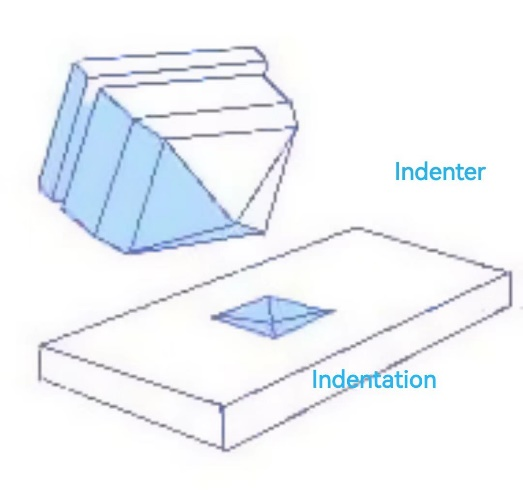
The Vickers hardness test method, defined as a microhardness test method, is mainly used for small parts, thin pieces, or case depth testing.
The Vickers method is basis on an optical measuring system. The Microhardness testing, ASTM E-384, is a range of light loads by a diamond indenter to make an indentation that is measured and converted to a hardness measuring value. It is for testing a wide type of materials, but working pieces must be highly polished to make measuring the size of the impressions. A square base pyramid shaped diamond is applied for testing in the Vickers scale. Typically loads are light, ranging from 10gm to 1kgf, although "Macro" Vickers loads can range up to 30 kg or more.
The Vicker methods are used to test on ceramics, metals, composites - almost any type of material.
Because the Vickers testing indentation is very small, it is useful for very thin materials like foils or testing the surface of a part, small areas, small parts , testing individual microstructures, testing the depth of case hardening by sectioning a part and having a series of indentations to show a profile of the change on hardness.
The microhardness test is in order to provide a small enough specimen that can fit into the tester. Additionally, the sample will be to make the sample’s surface smooth to permit a regular indentation shape and easy and good measurement, and to enable the sample can be tested perpendicular to the indenter.
Often the prepared samples are in a plastic medium to facilitate the preparation and measuring. The indentations should be as large as possible to maximize the measurement resolution.


 français
 Español
 русский
 العربية
 português
