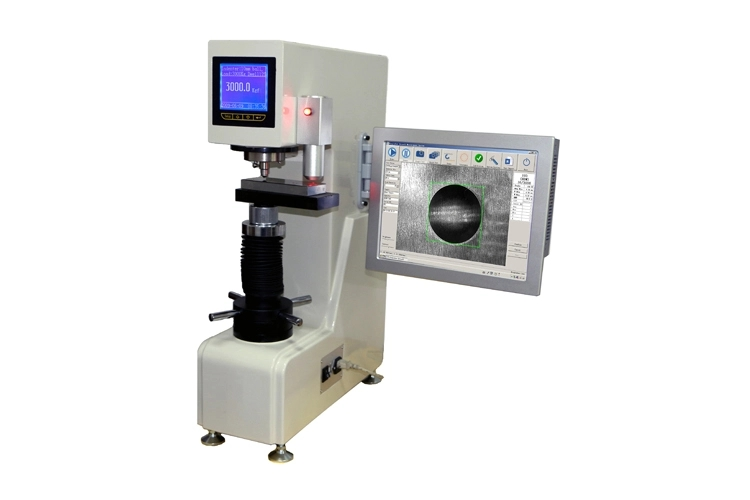
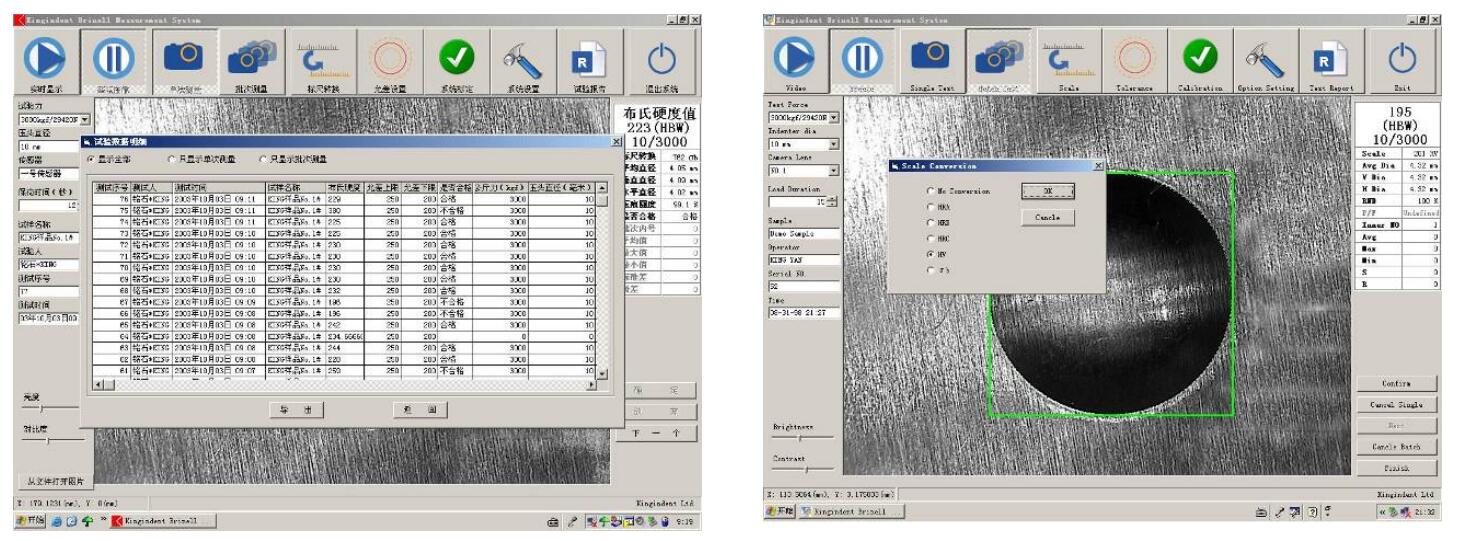
The device is equipped with a CCD camera and a PC, enabling the automatic measurement of indentations, thereby streamlining the process and enhancing accuracy. Additionally, it offers versatility in operation through three available methods: touch screen, keyboard, and mouse. This flexibility ensures that users can choose the most convenient and efficient way to interact with the system, catering to different preferences and operational requirements. This integration of technology simplifies the measurement process and improves user experience.
The tester apply the latest load cell technology. The tester load is installed via a closed-loop control unit with a load cell, a DC motor and an electronic measuring and controlling unit. The result is highly accurate values at all test loads up to 0.5%.
PnP tech. Simple plug & play Tech allows for much more quick and easy installation than traditional weights type bench tester.
The whole weight of the tester is 50% less than the traditional dead weights type tester.
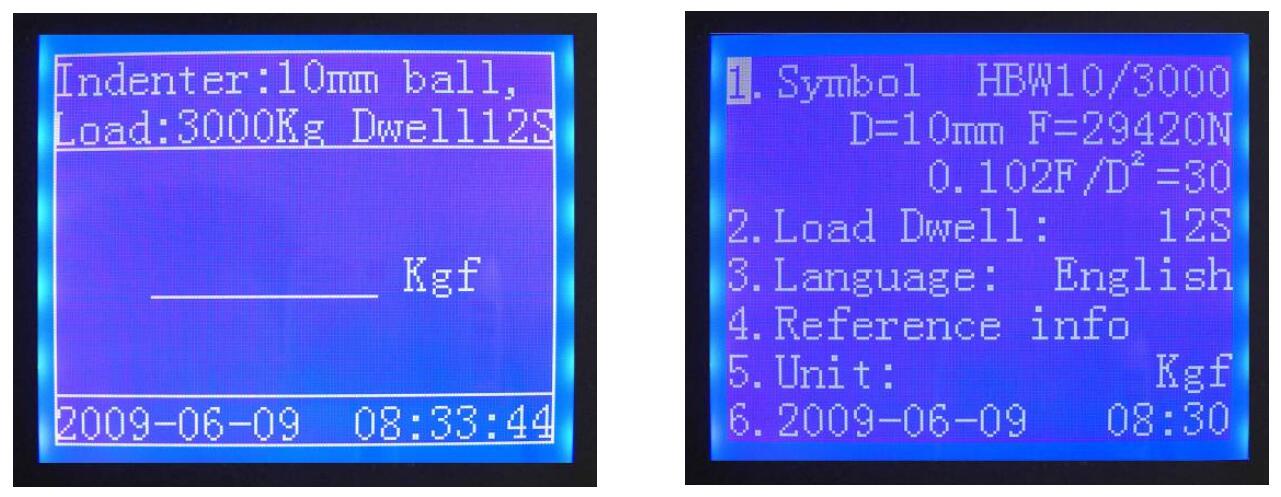
Test load selection by keyboard and LCD screen touchable. No need of handling heavy weights or cleaning the extra oil.
Selectable dwell times showing on screen. The indenter, load, and other test data are showing clearly on the large LCD screen.
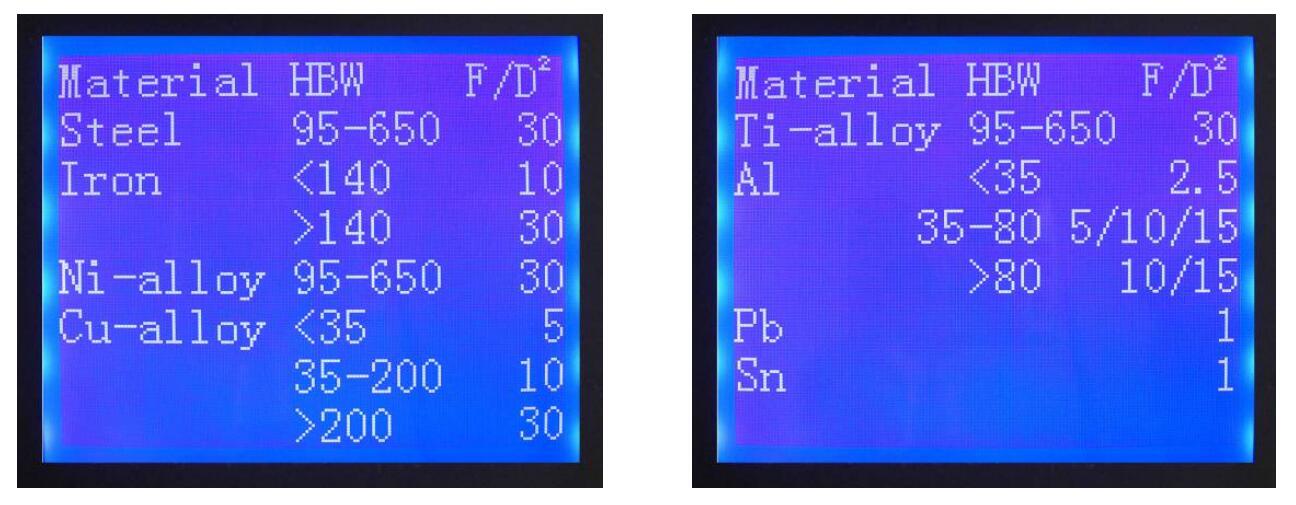
The directions for 0.102F/D2 ratios selecting according to the materials and hardness range can be showing on the screen.
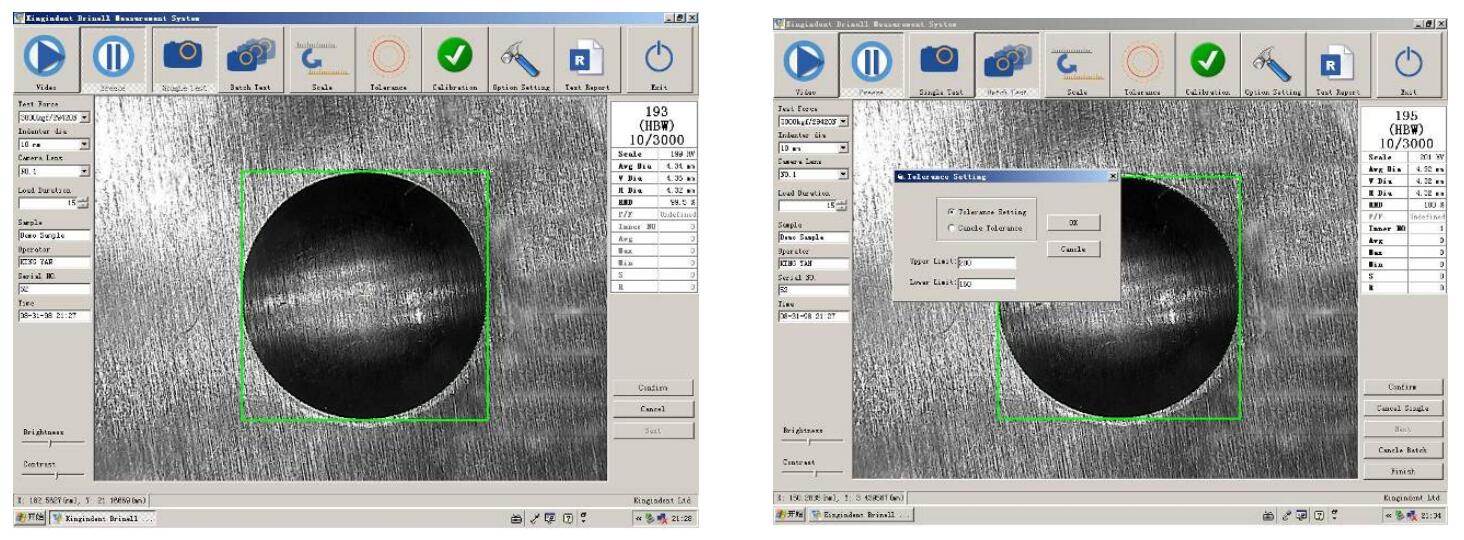
Equipped with the computer and special Brinell indention measure software which can measure the Brinell indention accurately, quickly, reliably. It is a new measuring method by using CCD camera to capture the indention image, instead of reading diameter from optical microscope by operator then calculating the test value.
SPC software will auto-start directly when switch on PC. And the PC will switch off when quit the software. Need not start / quit in Windows system. It very easy to use.
The measure software have much more functions. Such as both single testing and batch testing mode are available, Tolerance setting, distinguishing and alarming, Statistics values such as Max, Min, Avg, R and S are available, Convert test result to other scales, such as HRC, HRB, HRA, HV, σb.
All test results are saved automatically and can be output to USB flash disk in EXCEL format.
Loads:3000kgf (29400N), 1500Kgf (14700N), 1000Kgf (9800N), 750Kgf(7355N), 500Kgf (4900N), 250Kgf (2452N), 187.5Kgf (1839N), 125Kgf (1226N), 100Kgf (980N), 62.5Kgf(612.9N) | ||
Load dwell duration: 2s~99s, can be set and stored | ||
Tungsten Carbide Ball indenter: 10mm, 5mm, 2.5mm | ||
Measuring range: 3.18HBW~658HBW | ||
Accuracy of indention measureing: ±0.5% | ||
Accuracy of Brinell Hardness Value: | ||
Hardness Range(HBW) | Error (%) | Repeatability(%) |
≤ 125 | ± 2.5 | ≤3.0 |
125<HBW≤225 | ± 2.0 | ≤2.5 |
> 225 | ±1.5 | ≤2.0 |
Max measurable height: 220 mm | ||
Max measurable depth: 150 mm | ||
Dimensions: 530mm×260mm×750mm | ||
Power supply: 220/110 V, 50/60 Hz, 4A | ||
Weight: 130kg | ||
Standard blocks: 125-350HBW10/3000, 125-350HBW10/1000 |
Standard configuration | |
Host machine | 1 |
Standard block 125-350HBW10/3000 | 1 |
Standard block 90-150HBW10/1000 | 1 |
Ф10mm Tungsten Carbide Ball indenter | 1 |
Ф5mm Tungsten Carbide Ball indenter | 1 |
Ф2.5mm Tungsten Carbide Ball indenter | 1 |
Mounting screws for indenter | 1 |
Flat anvil, 80mmx185mm | 1 |
Power supply wire | 1 |
Dust cover | 1 |
Optional accessories | |
"V" shape anvil, 80mmx185mm | |
Standard blocks of other value | |
Ф10mm Tungsten Carbide Ball | |
Ф5mm Tungsten Carbide Ball | |
Ф2.5mm Tungsten Carbide Ball |