Beijing Lanetech Square Co., Ltd.

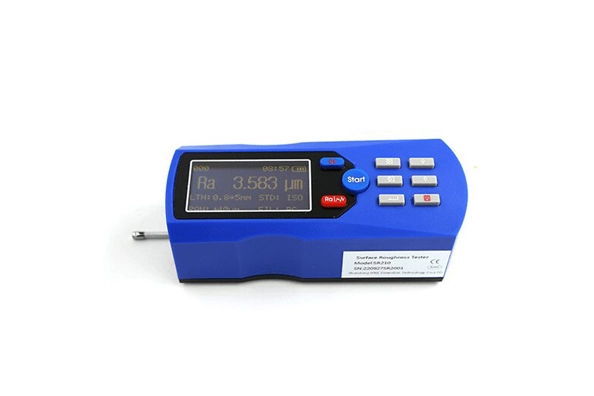
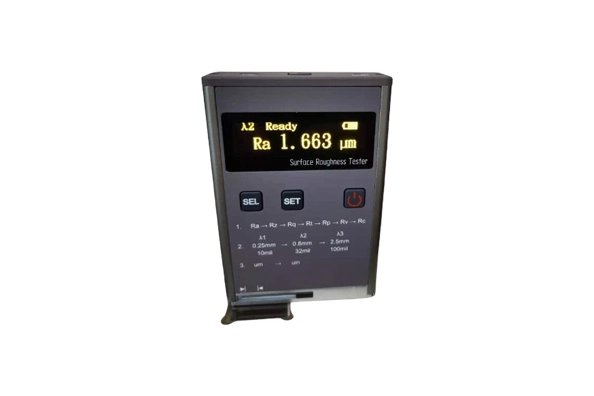
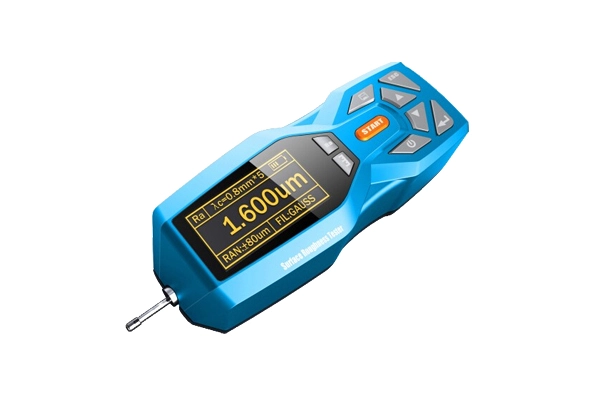
SR500 Automative Suface Roughness Tester

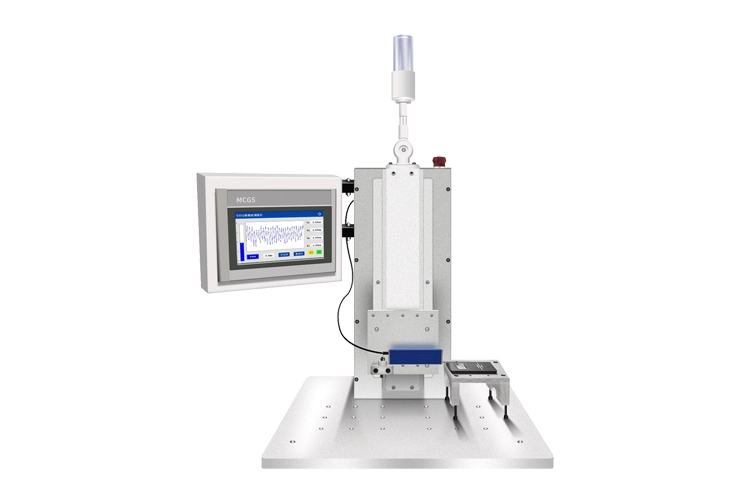
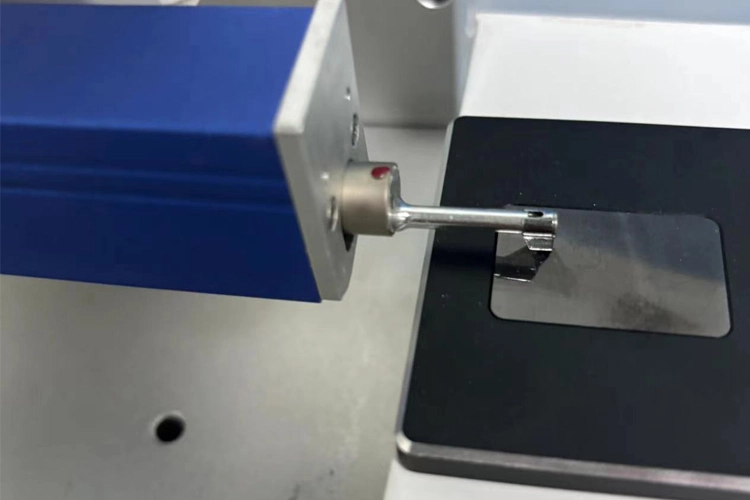
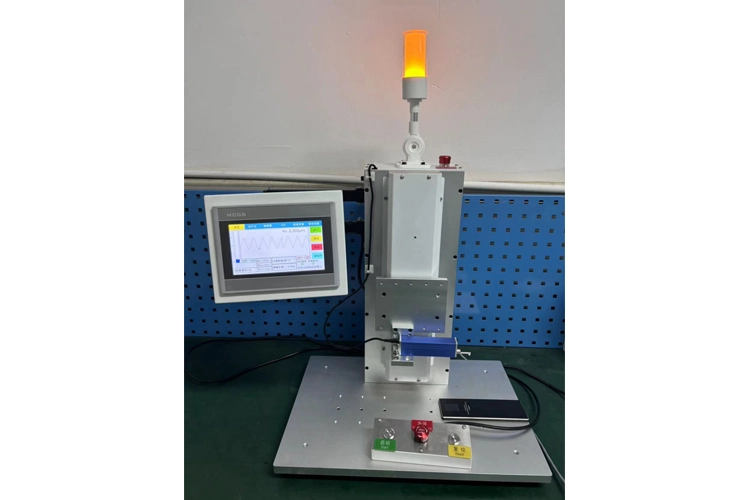
The fully automatic roughness measuring instrument is a machine that combines a roughness meter with an automated machine. This instrument is suitable for single and large quantities of products; Products with requirements for surface roughness measurement and high sampling frequency or full inspection. This machine can also be customized for different customers and measurement requirements to meet their measurement and usage needs. The purpose of developing this instrument is to achieve automatic measurement, synchronized data upload, ensure the authenticity and objectivity of measurement values, and improve measurement efficiency while reducing manual measurement intensity.


  • SR500 Automative Suface Roughness Tester
  • SR500 Automative Suface Roughness Tester
  • SR500 Automative Suface Roughness Tester
  • SR500 Automative Suface Roughness Tester
  • SR500 Automative Suface Roughness Tester
  • SR500 Automative Suface Roughness Tester
  • SR500 Automative Suface Roughness Tester
  • SR500 Automative Suface Roughness Tester

Product Features of SR500 Automative Suface Roughness Tester

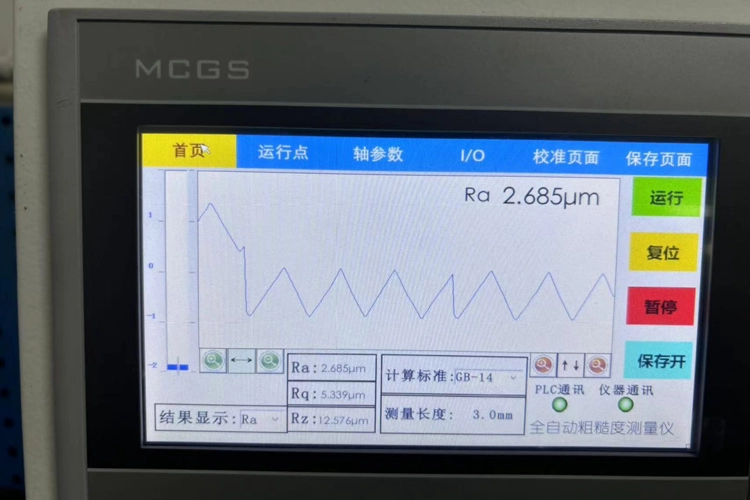
  • The fully automatic roughness measuring instrument is a machine that can replace manual labor to measure the surface roughness of large-scale single products. The machine can perform data processing internally, utilizing touch screens to achieve full standard display, distributed storage, automatic data upload, and other functions.

  • Achieve super strong electromagnetic anti-interference capability through full shielding technology, suitable for on-site automatic hardness measurement.

  • Machine customization design can be carried out according to the customer's product measurement requirements to meet their usage needs. Thus achieving unmanned product measurement and stable product measurement values.

  • The product is controlled by a single axis stepper motor, and the repeated measurement action of the product is controlled within a precision of 0.02mm. To ensure the stability and repeatability of product hardness testing.

  • The measurement actions of the machine can be set on the touch screen, and different products can have different measurement requirements and required measurement values. Functions such as measuring speed.

  • Data can be transmitted remotely for 200m


Technical Data of SR500 Automative Suface Roughness Tester

SensorWoking TheoryInductiveMotor ParametersMotor Distance1 7 . 5 m m
Testing Range200μ mMotor Speed0 . 5 mm/s
Stylus Radius5 μ mMotor Return Speed2 mm/s
Stylus MaterialDiamondDisplay ResolutionLess than±10%
Testing Force≦4mNDisplay VarietyLess than 6%
Stylus Angle90°Display FunctionMenu: Modify measurement conditions, calibrate readings, select communication with mobile phones or report output, etc.
Parameters: roughness parameters compatible with ISO, DIN, ANSI, and JIS standards.
Graphics: Unfiltered contour graphics, filtered contour graphics, and TP curves.
Longitudinal radius of guide head45m mPrompt information: measurement information, menu prompt information
ParametersRa 75 、 Rq 、 R p 、 Rv 、 Rc 、 Rt 、 S 、 R3z 、 PPI 、 Ra 、 R sk 、 R ku 、 Ry 、 S m 、 RΔa 、 RΔq 、 Rz 、 Pc 、Rλa 、 Rλq 、 l r 、 RSm 、 Rz94 、 RPc 、 RS 、 Rz . I 、 R pm 、 HSC 、 R k 、 R pk 、 Rvk 、 M r 1 、 M r 2 、V0 、 K、 A1 、A2 、   R mr(i) 、   R mr2 (i) 、   Rdc(i);


Product Inquiry
Products