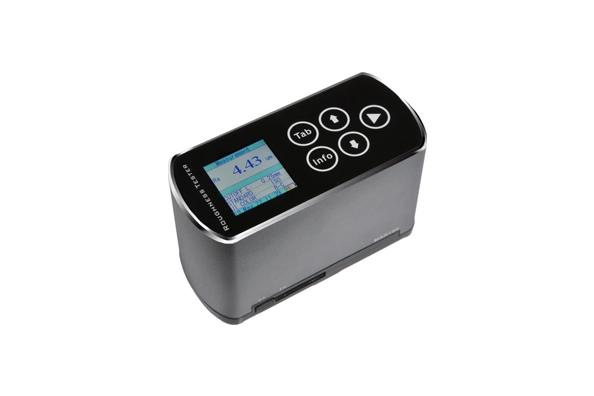
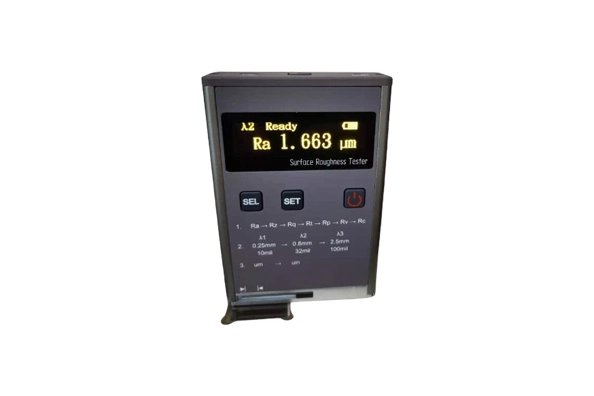
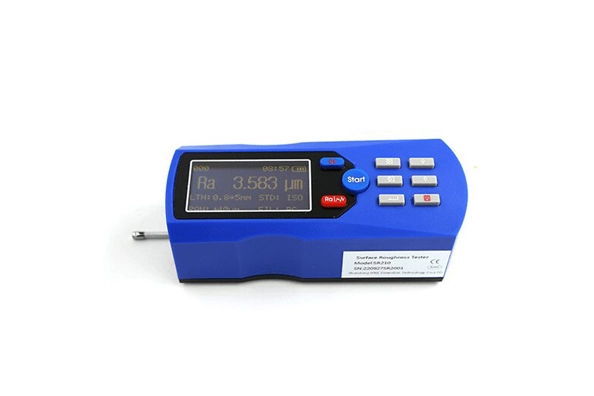
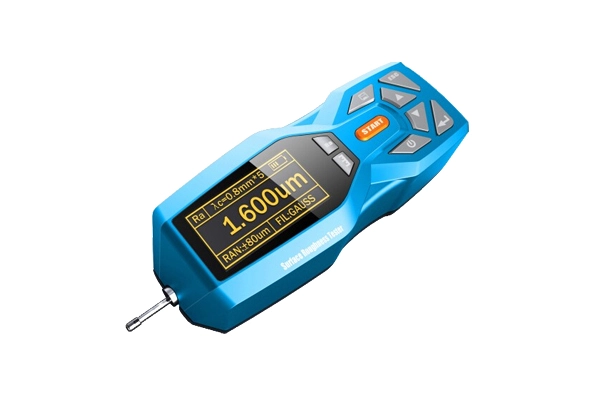
Ra represents the arithmetic average of the absolute values of the surface deviations from the mean line within the sampling length. It provides an overall measure of the roughness of the surface.
Lanetech Ultra-Precision Surface Roughness Tester | Industrial-Grade Measurement for Manufacturing & Aerospace
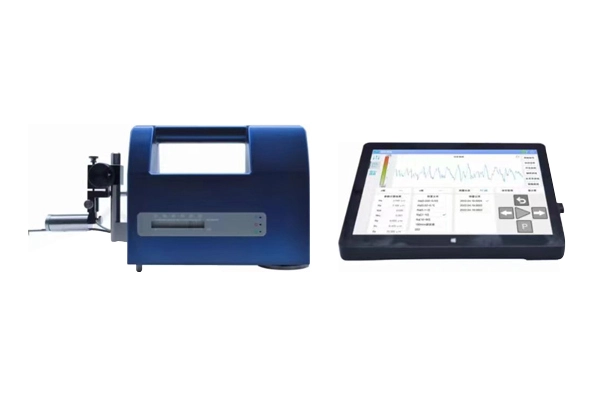
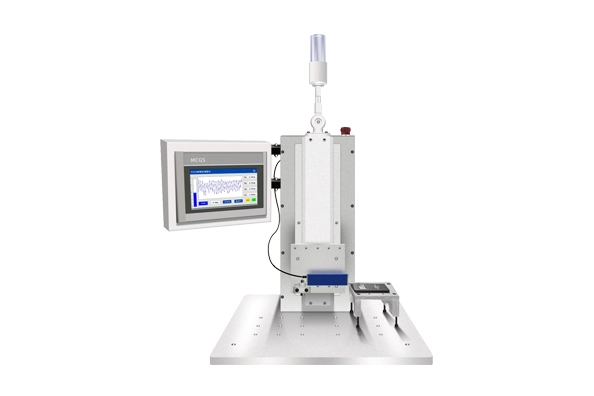
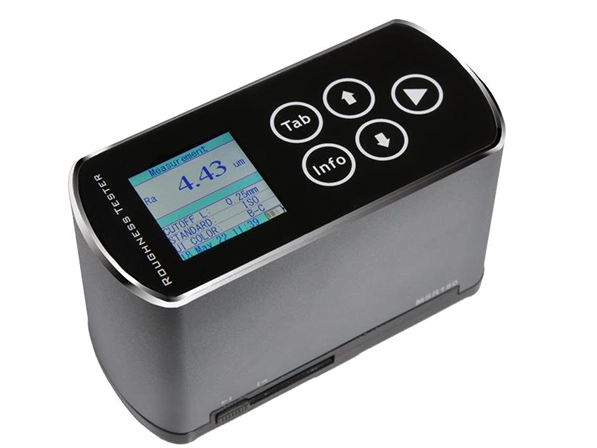
Lanetech advanced Surface Roughness Tester delivers lab-certified accuracy (Ra, Rz, Rq parameters) with stylus-probe scanning and 3D analysis for microscopic texture mapping. Featuring real-time data logging, portable design, and ISO/ASTM-compliant calibration, this device generates instant graphical reports to quantify peaks, valleys, and surface irregularities.
Ideal for automotive quality control, aerospace component validation, and precision engineering R&D, it ensures compliance with ASME B46.1, DIN, ANSI, and JIS standards. Boost production efficiency with automated parameter calculations and cloud-enabled data sharing. Trusted by Fortune 500 manufacturers – request a demo or download technical specs today for unmatched surface analysis solutions!
Ra represents the arithmetic average of the absolute values of the surface deviations from the mean line within the sampling length. It provides an overall measure of the roughness of the surface.
Rz measures the average distance between the highest peak and the lowest valley within the sampling length. It offers insights into the differences in elevation across the surface.
Rq calculates the root mean square of the surface deviations from the mean line within the sampling length. It provides a measure of the average height deviations from the mean line and is useful for evaluating the fine details of the surface texture.
A Surface Roughness Tester typically uses a stylus or probe to measure surface roughness. The stylus is moved across the surface, and as it encounters irregularities, it generates electrical signals. These signals are converted into numerical values that represent the height variations of the surface. The tester’s probe may have a diamond or a ruby tip, which allows it to accurately trace the surface profile. The stylus is guided by a motorized or manual mechanism, and the displacement of the stylus is recorded and analyzed to determine various surface roughness parameters. The measurements are then displayed on the tester’s screen or can be recorded digitally for further analysis.